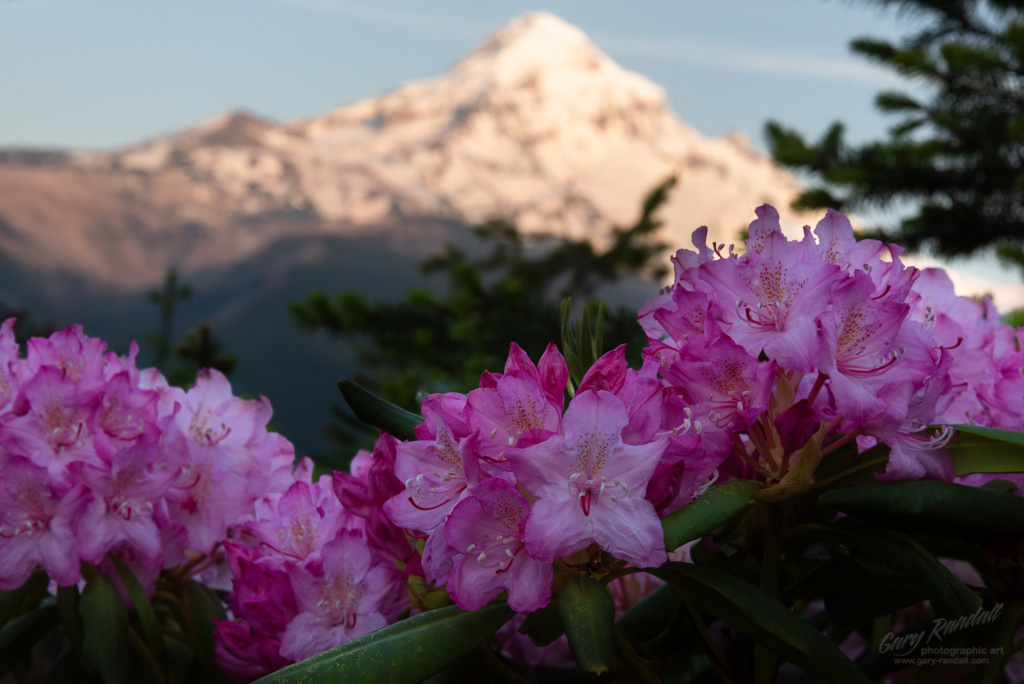
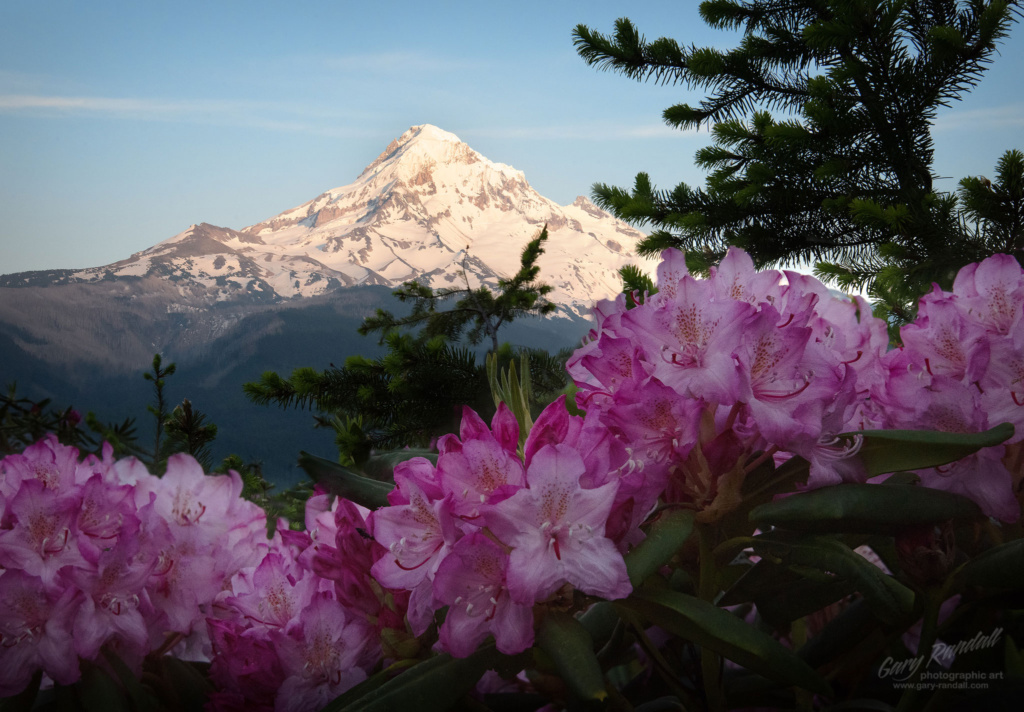
We’re focusing on focusing this month. How do I focus my photos is one of the most asked questions of me by other photographers. It’s a great question, and one that one would think would be pretty basic and simple. It’s usually the last skill that a beginning photographer considers when starting out but seems to be the toughest to master. I mean it seems that it would be pretty basic, what with the sophistication of the Auto Focus features in modern digital cameras, but once one takes a few photos and is let down by the Auto Focus Mode it’s easy to see why in many cases, especially landscape and portraiture, you will want to manually focus your photo.
There are several things that will affect the focus or clarity of our photos including a completely out of focus image, one where the focus is so far off that nothing is clear or in focus. That issue is obvious, of course, so we won’t discuss this in depth. We will assume that we are focusing but want to refine the clarity and focus of the shot. I’m going to try to proceed without citing mathematics or terms and theories such as Hyperfocal Distance, Circle of Confusion etc. The purpose of this article is to just understand the basics enough to understand how to overcome a common problem with focusing. Trust that this could become so lengthy that it would require another ten pages of the Mountain Times to cover it. Sometimes when someone is learning something new more information beyond what it takes to understand the concept causes confusion and discouragement. Once the basics are learned the understanding can be broadened in the future. I always tell people that if it requires mathematics to take photos I’d be a C-Minus photographer.
First let’s consider blurring caused by the camera moving or objects in the scene moving. This is not a focus issue but it can affect the clarity and areas of focus in the photo as you affect it. If movement is causing problems then your shutter speed is too slow. You’ll need to make sure that your shutter speed is sufficiently fast to freeze the movement. There are times where a slow shutter blur effect is desirable such as in creeks or waterfalls. This typically requires one to make an aperture adjustment to vary the shutter speed. Opened more to make it quicker and closed more to make it slower, but the depth of field will change with each aperture change.
So what’s this depth of field of which you speak you ask? The depth of field is how deep the area that will be in focus is from front to back. The wider your aperture the shallower or narrower your depth of field will be and then when you stop down, or close the aperture down, the depth of field becomes deeper. Remember that the larger the aperture opening the smaller the f/stop number and the smaller the aperture opening is the larger the f/stop number. Something to consider when you’re trying to maximize your focus is that the closer you are to the subject or foreground narrower your depth of field will be as well. If you’re having trouble getting everything in the scene within acceptable focus stand back a little. The same with portraiture. If you’re shooting with a wide aperture to blur the background intentionally you may have trouble getting the person’s whole face in focus. There’s not a lot worse in portrait photography than having the eyes in focus but the nose out of focus or vice-versa. Either stop down (close down the aperture) or stand back a little further or both. This works best with a zoom lens so you can recompose as you move away.
Hyperfocal Distance – I know. I said that I was going to try not to mention this but I think that curiosity will eventually lead a photographer to wonder. Simply and basically, the hyperfocal distance is the point where you will focus to allow everything from the foreground to the background to be in “acceptable focus”.
There’s a mystical mathematical formula to determine what that the hyperfocal distance is, but if you remember this advice you will get by like I have been for a long time without taking a calculator into the field with me. Here goes – I remember that I want to be in my lens’s sweet spot, which is the upper and lower limit of the aperture’s clearest settings. Each lens is different but the average lens is approximately f/8 to f/14. Compose your shot but try not to get too close to the foreground unless you don’t mind the background to be soft – Remember the closer to your foreground the less likely the object in the background will be in focus – And then focus to infinity on your lens focus ring and then focus back until the foreground just comes into focus. Then you will usually have the depth of field maximised and pushed out as far as possible while still maintaining a focused foreground. It’s easy to understand once you try it.
That may have been a long road to a short conclusion but just a basic understanding of how your aperture and depth of field affects focus allows you to take control of exactly how you will focus your photo. I hope that I made that as clear as possible.


